Answers
Steps for customizing your physical ticket stock colors per ticket type
If you want to select ticket colors for customizing physical ticket stock to use for your event, follow these below. To create and order ticket stock in Purplepass, follow these instructions.
- Log in to your Purplepass event organizer dashboard
- Select Create New Event on the top navigation bar or edit an existing event

- Find the section Ticket Pricing and Options
- When creating your ticket types, you will see an Options button to the right of the page

- Click the button, and a pop-up window will appear on the screen
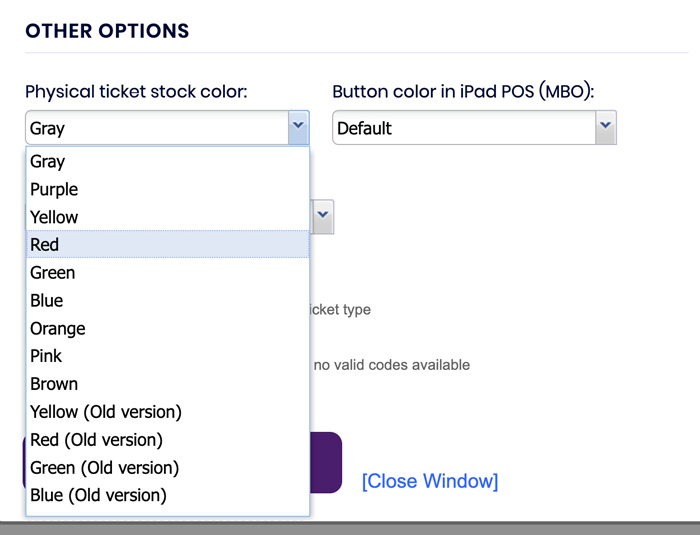
- Scroll down and there is a drop-down box labeled Physical ticket stock color
- Select the appropriate color
- Save your information once you have entered all the relevant details by selecting the purple button Upload Options.