Answers
How to add your print-at-home ticket design to your event
You can create custom print-at-home ticket designs in your account. After you create it, you are able to apply the design to your event. Follow the steps below:
- Log in to your Purplepass event organizer dashboard
- In the dashboard, click Create New Event or, you choose to edit an existing event.

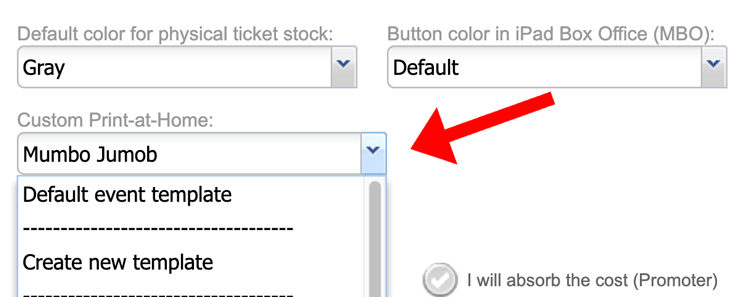
- Scroll to the bottom of the event creation page until you come to the box titled Custom Print at-Home under the Additional Options section
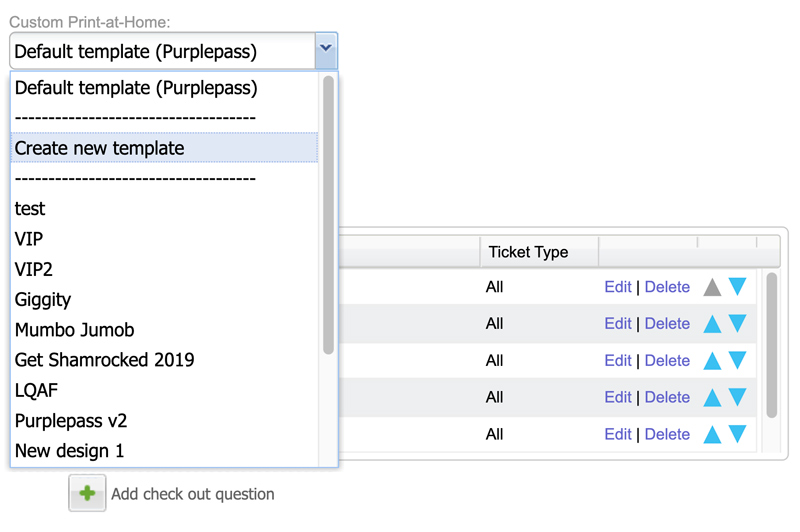
- Click the template you want to use from the drop-down menu.
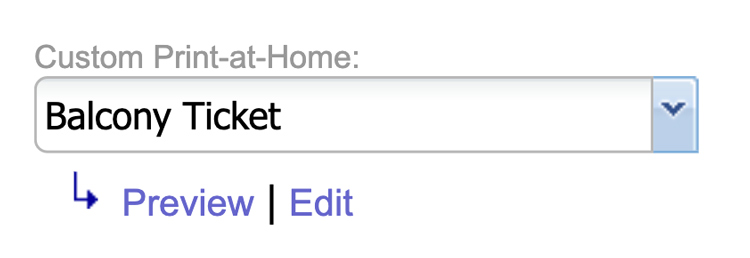
- Once you make your selection, click the blue Preview link to see how the tickets will look to the customer. You can also click the blue Edit link next to the preview link to make changes.
NOTE: Once you set the template you want to use, it becomes the default for all printed tickets. If you want to use different templates for each ticket type, you can change that by going to the Ticket Pricing and Options section. Select Option for the ticket type you want to change the template for.
- Create each ticket type
- Select the Options icon at the left of the ticket-day/type

- A pop-up window titled Advanced Options will appear, and you can choose the template by clicking the Custom Print at-Home box and selecting the template you want to use
- Click the purple Update Options button at the bottom of the screen to save your work
- Once you have finished entering your custom print-at-home ticket information, click the purple Post/Update Event button at the bottom of the event creation page to start using your customized print-at-home tickets