Answers
Editing your seating rows: Different customization features available
In your map builder, you can build custom seating maps including curved rows, tables, colored price levels, etc. The below steps show the different row properties you can use to customize your row seating.
- Log into your Purplepass event organizer dashboard
- Select Seating Maps

- Select Edit for the map you want to edit or create a new map
- Your creation dashboard will appear
- Select add seats to add your rows
- Once you've selected your seat/row options and pricing levels, select Add
- Click the section of rows you wish to edit and the main properties sidebar will appear
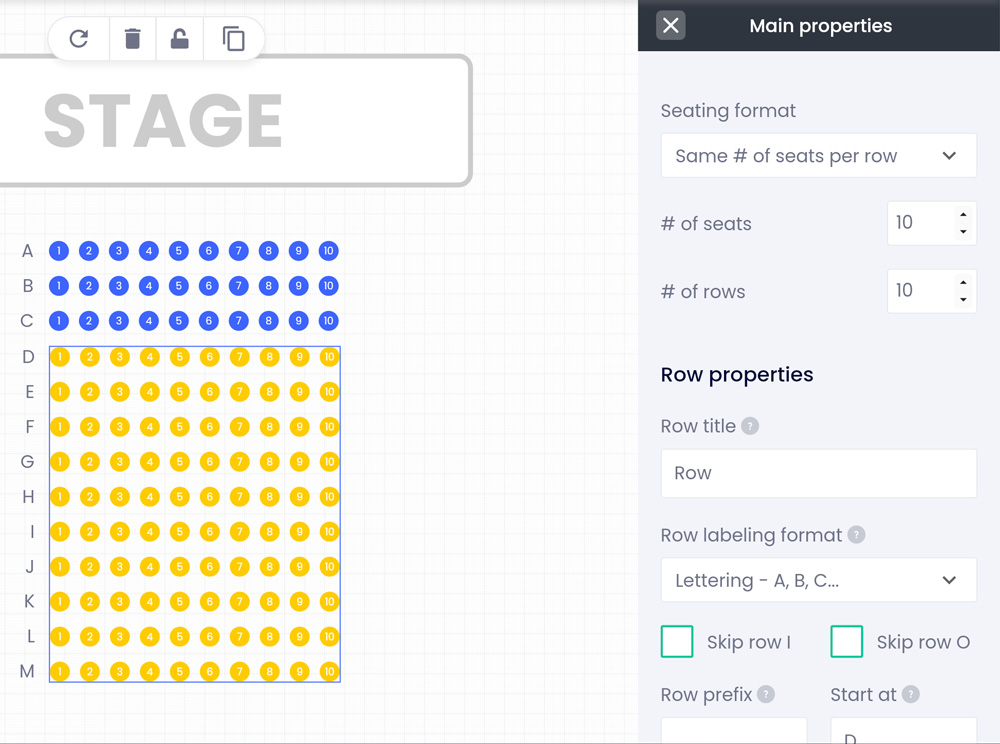
- Scroll to the section that says row properties
- From here, you have a few different options for editing your map
Row Labeling Format
The Row Labeling Format can be used to set if you want the rows to be labeled with numbers or letters.
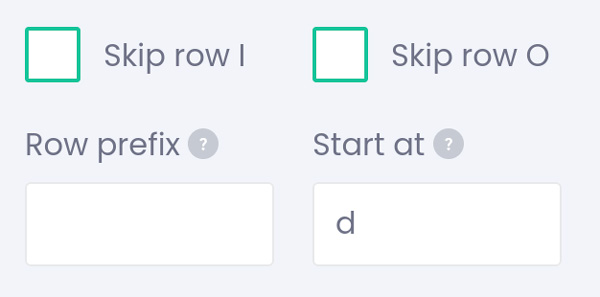
Skip row I and row O
You can choose to skip row "I" on your seating maps to minimize confusion for your guests when finding their seats. Sometimes it can be confused with the letter one. The same confusion can happen with row "O" as some people see that as zero. This only applies if you're using letters for labeling.
Label Indent
This feature controls the distance the row labels are from the seats.
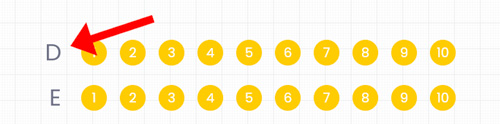
Row label placement
This option controls where your row labels will appear; left, right, both sides, or don't display.
Seat labeling logic and format
These options allow you to choose if you want each seat to be labeled with a number or letter. You can also choose for seats to be counted sequentially or odd or even.
