Answers
Creating and applying print-at-home tickets for your events
To build custom print-at-home tickets
- Log in to the Purplepass promoter dashboard
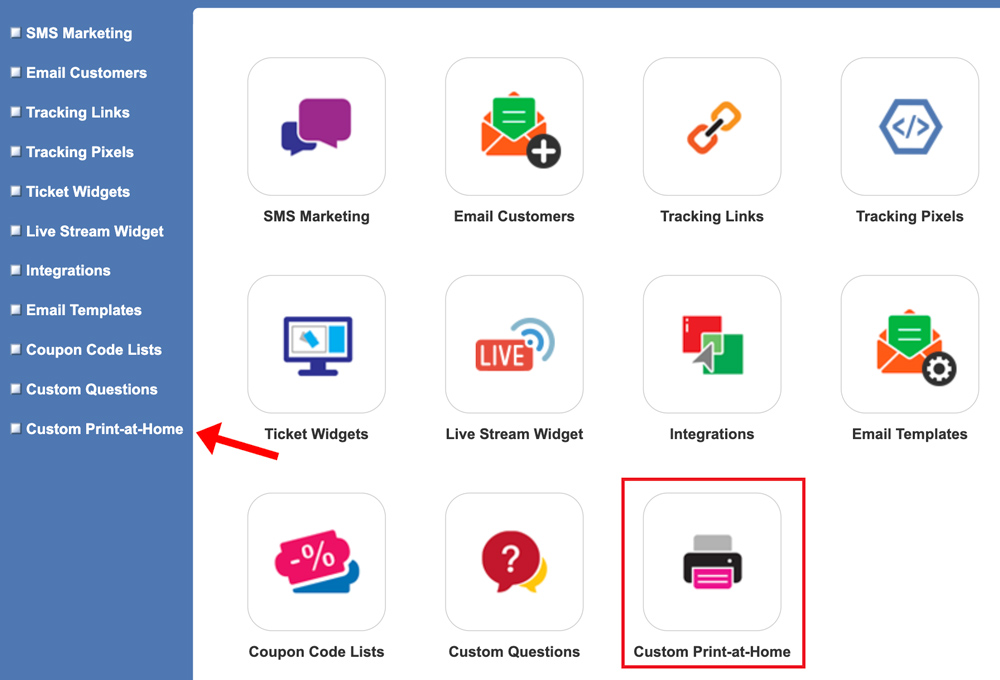
- Select “Tools” from the top navigation bar

- Click “Custom Print-at-Home” on the left navigation bar or in the box on the main page
- Once you’re on the “Custom Print-at-Home” screen, click the purple “Create a New Print at-Home” button
- A new pop-up window will appear titled “Create Print-at-Home From”
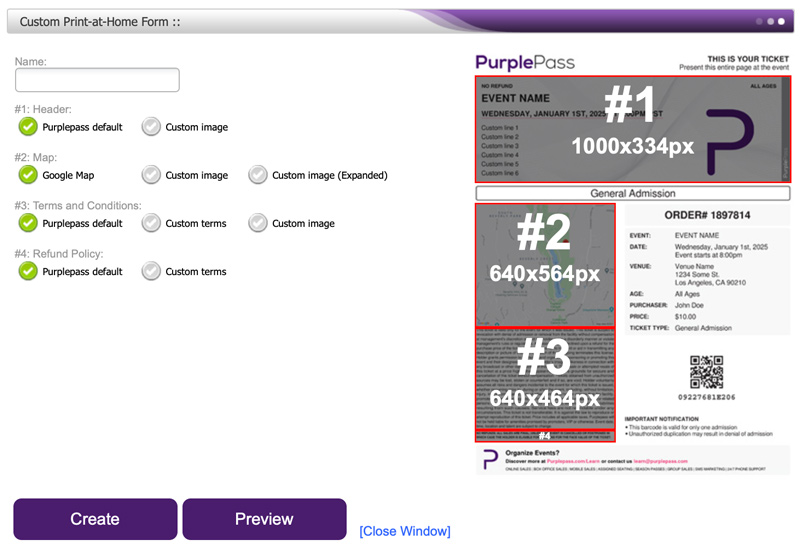
- In the first box titled “Name” either select an option from the drop-down menu or enter the name you want to use for your custom print-at-home tickets
HEADER
You can check the “Custom Image” box and a field will appear below allowing you to add your own artwork.
MAP
You have the option to select “Custom Image” if you don’t want to feature an area map and, instead, want to upload a different image. You can also check “Custom image (expanded)” to combine #2 and #3 fields to create a larger, singular image.
TERMS AND CONDITIONS
You can select the default option or check “Custom terms” to create your own terms and conditions. You can also check “Custom image” to upload an image instead.
REFUND POLICY
You can either keep the default option or check “Custom terms” and enter your refund policy.
- Click the purple “Preview” button at the bottom of the window to see what the ticket will look like when completed.
- Once you’re finished adding details, click the purple “Refresh Preview” button on the right of the screen. If you’re satisfied with the custom print-at-home tickets, select the purple “Create” button at the bottom of the screen to save your work.
Applying your print-at-home ticket template to an event
If you want to learn more about using your customized print-at-home tickets for an event, follow these steps:
- Log in to the Purplepass promoter dashboard
- From the dashboard, select “Create New Event” at the top of the navigation bar. Or, you can also choose to edit an existing event.

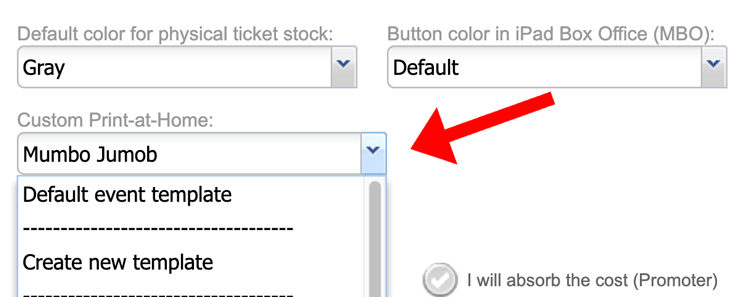
- Scroll to the bottom of the event creation page until you come to the box titled “Custom Print at-Home” under the “Additional Options” section
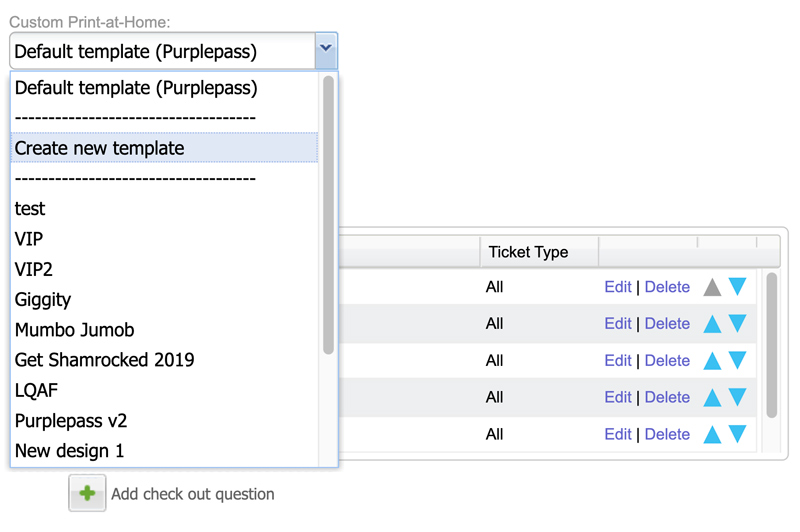
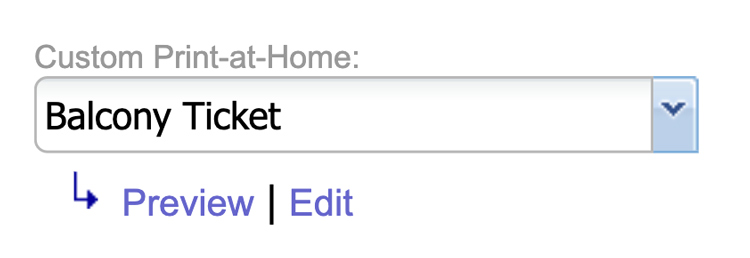
- Click the template you want to use from the drop-down menu.
- Once you make your selection, click the blue “Preview” link to see how the tickets will look to the customer. You can also click the blue “Edit” link next to the preview link to make changes.
NOTE: Once you set the template you want to use, it becomes the default for all printed tickets. If you want to use different templates for each ticket type, you can change that by going to the “Ticket Pricing and Options” section.
- Create each ticket type
- Select the “Options” icon at the left of the ticket-day/type

- A pop-up window titled“Advanced Options” will appear, and you can choose the template by clicking the “Custom Print at-Home” box and selecting the template you want to use
- Click the purple “Update Options” button at the bottom of the screen to save your work
- Once you have finished entering your custom print-at-home ticket information, click the purple “Post/Update Event” button at the bottom of the event creation page to start using your customized print-at-home tickets