Answers
Adding a stage graphic to your seating map using the image library
The seating map builder comes with an image library that offers a variety of seating map graphics as well as other icons such as restroom logos, accessibility, ATM, etc. Follow the steps below to add a stage graphic to your map.
- Log in to your Purplepass event organizer dashboard
- Select Seating Maps in the top navigation bar

- Select Edit for the map you want to edit
- A map will appear in a new window
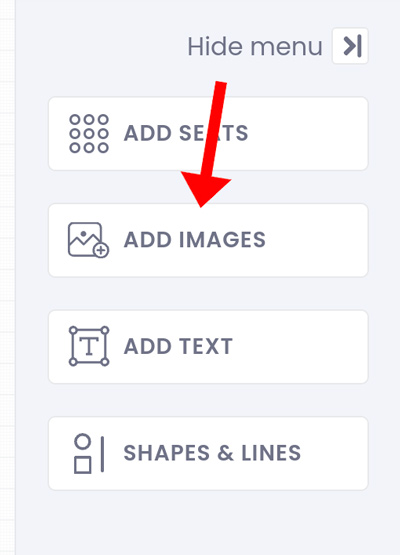
- Select Add Images in the right-hand navigation bar
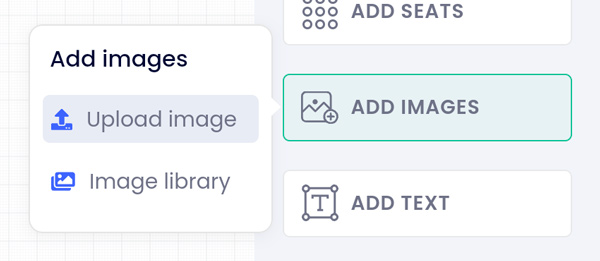
- A small pop-up will appear, select Image Library

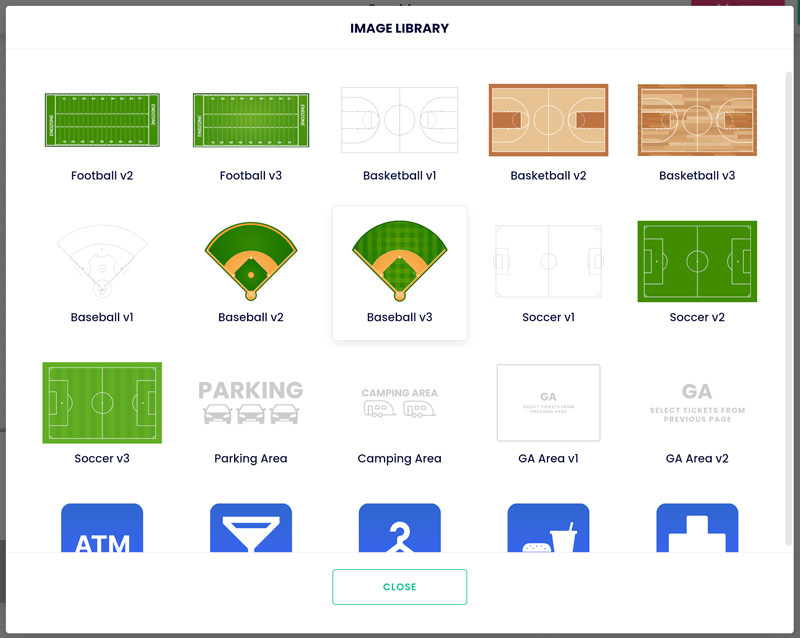
- A pop-up window will appear where you can select different stage graphics and icons
- After you select your stage, it will appear on your map
- Drag it to where you would like it to be
- You can also adjust the image properties by clicking on the image/graphic.
NOTE: To return to the main navigation menu, click anywhere in the open space on the grids.
Adding your own custom graphics or stage
If you want to add your own images, logos, or stage graphics, you can do so by selecting the Add Images option and, instead, selecting Upload Image.