Answers
Steps to create a recurring event on the Purplepass platform
If you want to create a recurring event, or an event that happens more than one time, follow these steps.
- Log in to your Purplepass event organizer dashboard
- Select Create New Event on your navigation bar. NOTE: after your selection, a pop-up of options will appear on the screen


- In the pop-up window, select Create Repeating Event
- Fill out all the necessary information for building your event
The Basics
Identify the type of recurring event you are creating: daily, weekly, monthly or custom schedule. NOTE: Use the custom schedule option if your event has irregular dates or times that are different, such as a matinée and a night show.
- Be sure to include the time the doors open as well as the time the event begins, so people can plan arrival.
- Enter any day the event repeats throughout the week. Be sure to include the date of the first and last event.
- Select the option to make the event public if you want people to be able to find the event on Purplepass and make it visible to search engines.
- If your event is exclusive or hidden, you can require a password to access tickets for the event.
The Details
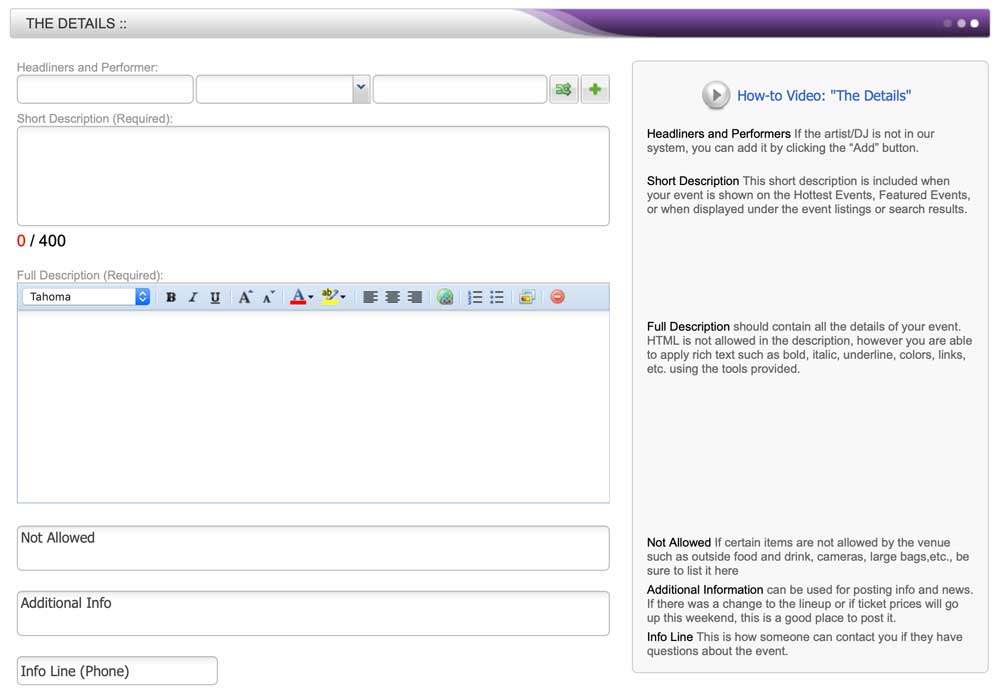
Short Description: include the information you want featured on search engines, discovery sites and other event listings in your short description, which is limited to 400 characters.
Full Description: include the information you want featured on the event page in the full description field.
The Location
Enter the venue capacity. Keep in mind that the venue capacity field will directly relate to the amount of total tickets that can be sold.
Ticket Pricing And Options
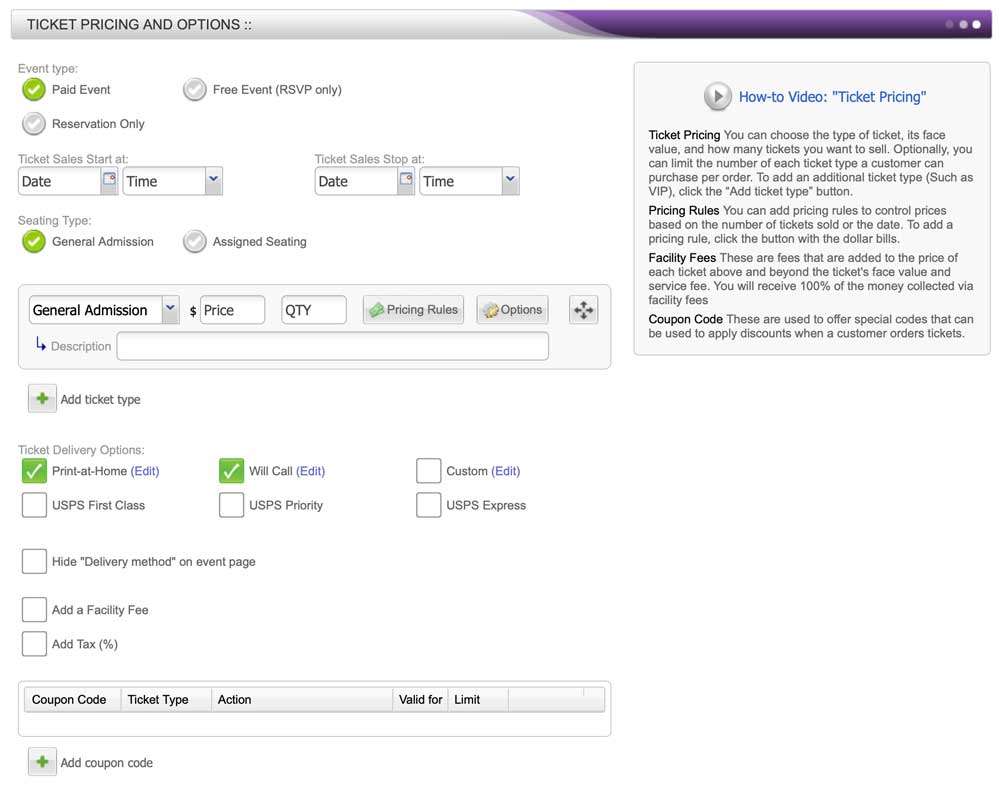
Your event type options: Paid, Free/RSVP, or Reservation only. NOTE: you have the option to set a reservation option in the appropriate field to allow an attendee to reserve a ticket and pay later through the event organizer.
- You can set ticket sales start dates to immediately or select the number of months, weeks, hours, or days before the event starts. You can end sales when the event starts, ends, or set it to end a number of hours or days before the event starts or ends.
- Set your seating options; general or assigned. NOTE: if assigned seating, you will need to have a seating map built first. Contact your client-care representative or email us at support@purplepass.com to have your seating map built. This service is free.
- You have the option to create a variety of ticket types; general, VIP, user-defined, donation, package/group, or season/series pass. NOTE: you can customize each ticket type by selecting the Options tap for advanced options.
- Give guests the option of how they’ll receive their tickets with our 6 different delivery methods: print-at-home, will call, USPS first class, USPS priority, USPS express, or custom. NOTE: creating a custom delivery method allows you to customize the text that is displayed to customers. Change what the delivery method is called as well as the description that is shown. This is designed for you to fulfill the order and will be in the system as a Will Call order.
Additional Media
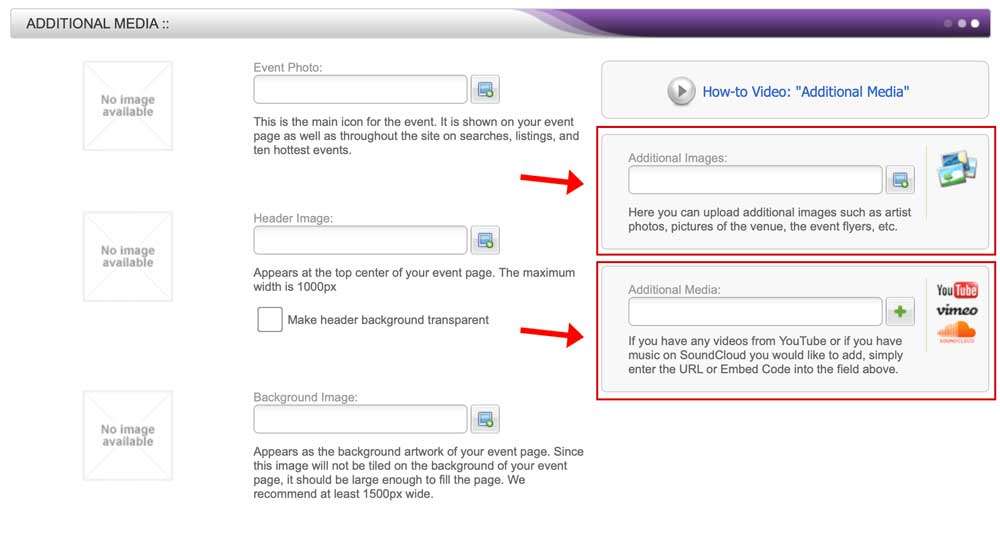
Add event photos, background and header images, and/or videos to your event page.
Additional Options
- If you want guests to share their experiences online, you can enable the Facebook option (auto check-in, sharing with friends, request to like).
- If your event have multiple users, you can assign partners. These grants access to certain parts of the event ticketing management; you can choose exactly what they are allowed to see, edit, etc.
- To customize your event, you can add custom messages such as terms and conditions, personalized messages on receipts or checkout, and notes to the Purplepass support team handling event phone calls.
- Don’t forget to upload any email templates or print-at-home designs specific to that event.
- Once all the information about the event is successfully entered into the appropriate fields, save the information by clicking Post Event.