Answers
Requiring a promo code to make a purchase
A promo code is a digital coupon consisting of letters and/or numbers you can apply when making a ticket purchase. Below is information on how you can require a code from your customers to make a purchase or receive a discount. For more information on how to create a promo code in your Purplepass account, click here.
Require a code
If you want ticket buyers to be required to use a code to complete a purchase, follow these steps:
- Log in to your Purplepass event organizer dashboard
- Edit an existing event or click on Create New Event in the top navigation menu

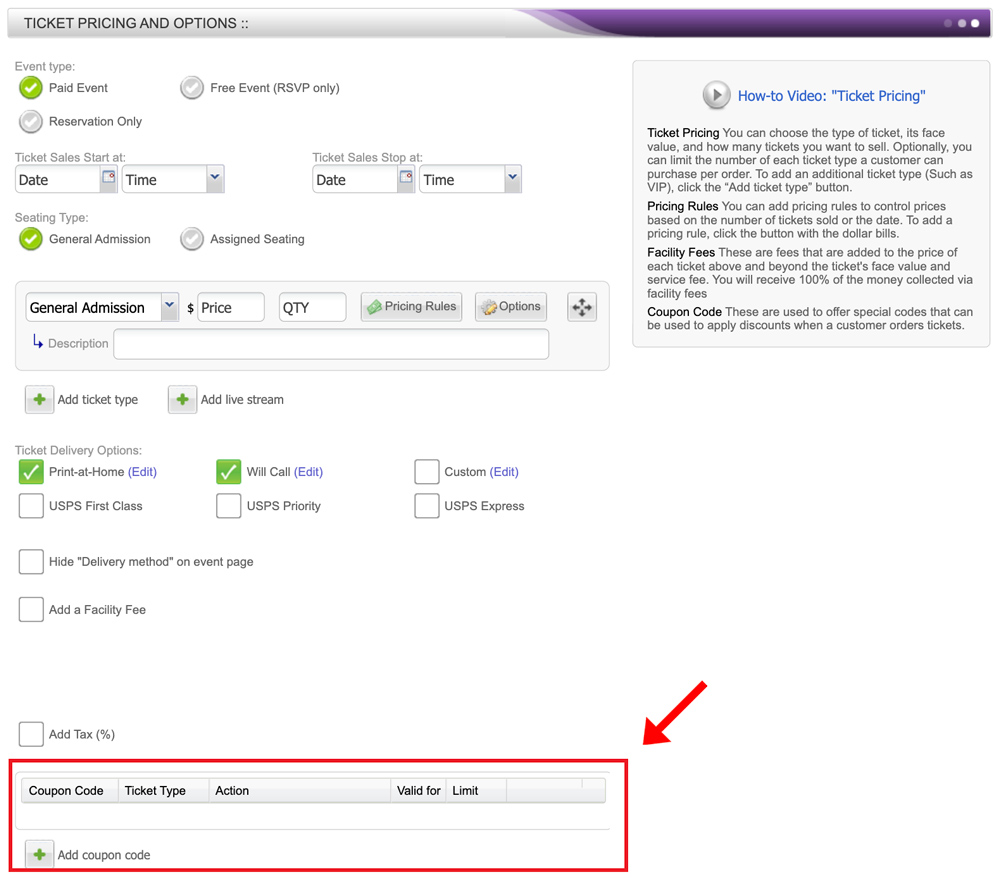
- When creating your event, scroll down the page until you reach the Ticket Pricing and Options section
- Select Add coupon code located on the bottom left
- The Create Coupon Code window will open
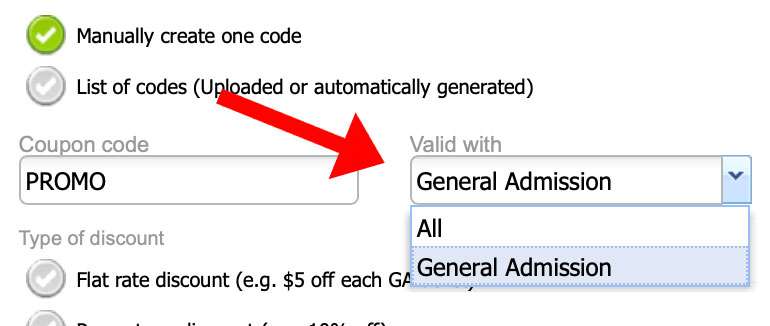
- In the pop-up window, click the box labeled Manually create one code
- Enter the promo code name in the box titled Coupon code
- Next to the Coupon code box, enter the ticket type the code will be needed for in order to make a purchase in the Valid with box
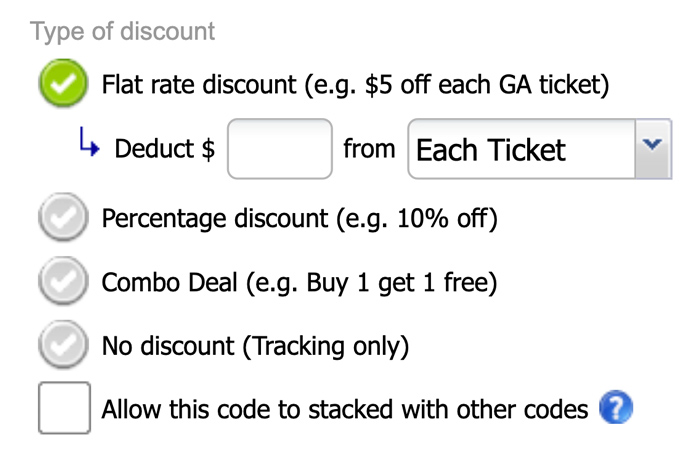
- Check the No Discount box
- Enter your promo code information and then click Save Coupon Code
- Then go to the ticket type that this code is for and select Options
- Check the box that says Require coupon code to purchase
- Then click Update options at the bottom of the window
NOTE: If you want to require a promo code for purchasing passes/packages, click here.