Answers
Generate a promotional (single or mass) email via Purplepass
You can send and schedule email messages directly to your customers. Your recipients have to be from previous orders in the system. You cannot import a list of customers that are not from previous orders via Purplepass.
You have the ability to choose exactly which customers should receive the message based on various criteria. There is no charge to send email messages to your customers through Purplepass.
If you want to create a promotional email for your company or any upcoming event(s), follow these steps:
- Log in to your Purplepass event organizer dashboard
- Select the Tools tab at the top of the navigation bar

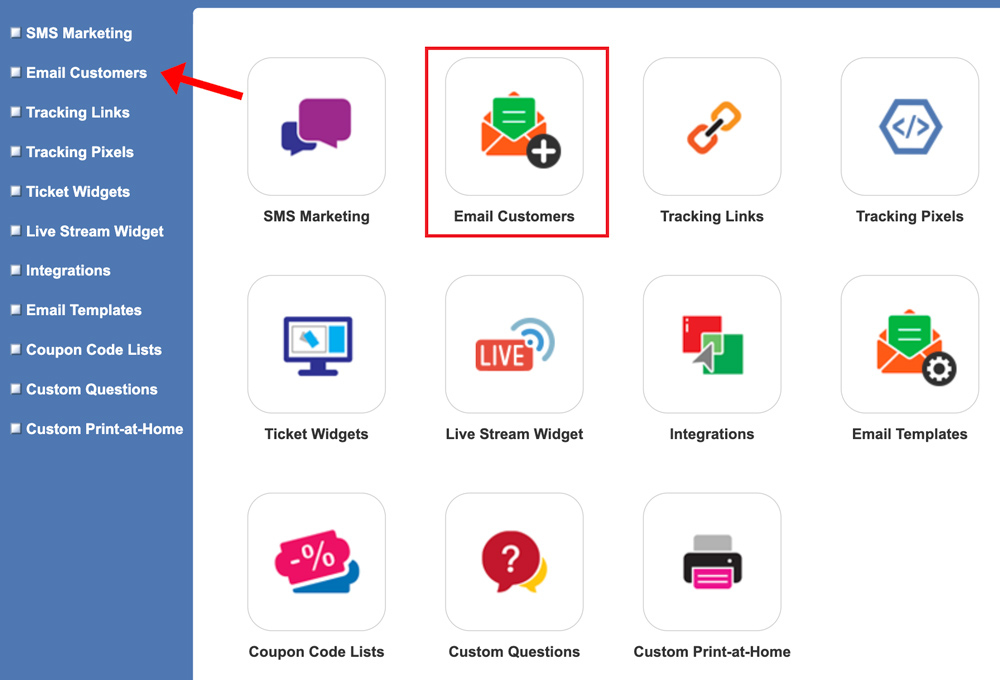
- Select Email Customers in the left navigation bar or select the box on the main page
- Click the purple button labeled Create New Email Message
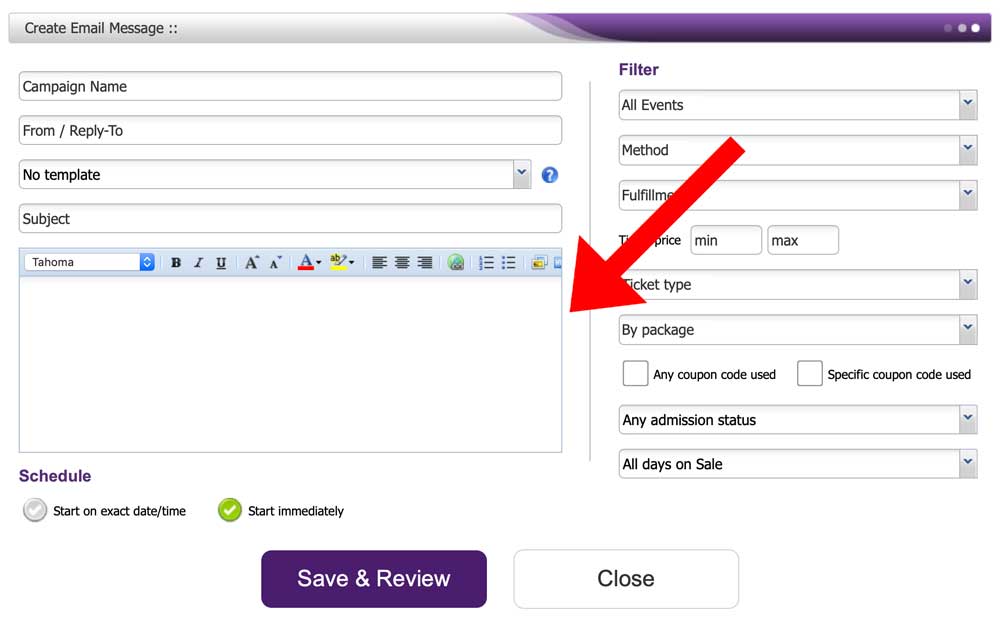
- The pop-up window Create Email Message will appear

- Enter the appropriate information in the From / Reply To section. NOTE: This information is generally the event organizer’s email.
- In the following section, select the template type from the drop-down menu or leave it as the default, No template. If you choose the Purplepass template, you will have the Purplepass header and footer on the email.
- In the text field, type your email’s message
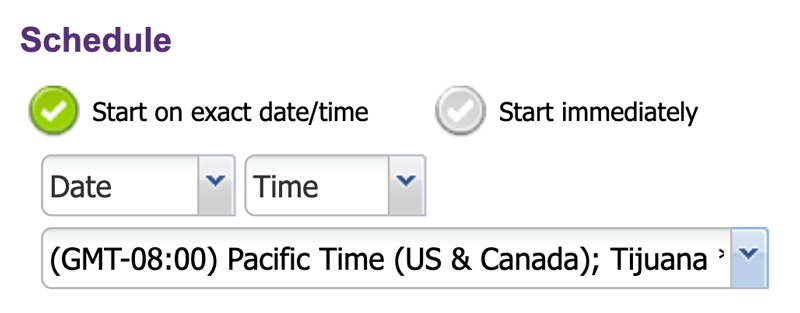
- In the Schedule section, enter the start date and time by checking Start on exact date/time, or check Start immediately
To filter who the emails are sent to, you can change the filter options on the right of the screen. You can filter by:
- Event
- Method
- Fulfillment
- Ticket price
- Ticket type
- Package
- Promo codes
- Admission status
- Sale date
Once you're finished entering your email information, click the purple button Save and Review
NOTE: You can only use emails that exist in orders done through your own events.
Adding recipients
- Create your email by entering the required information and adding context. You have the option to schedule it or send out the email (s) immediately.
- Create your email list by using the filter options on the right
- If you don’t use the filter option, you can manually select your recipients after selecting Save & Review